Making a Ring Using Wax Molds
There are several methods we use when making a ring. We've discussed handmade rings as well using computer-aided design (CAD) in previous blog posts. Another method we sometimes use is casting a ring from a mold. This method is useful when replicating an existing piece of jewelry.
Sometimes we want to make more “copies” of an existing design, or sometimes we need to make additional components for a piece of jewelry (a ring head, or a bezel, or whatever interchangeable part is needed). Regardless of the project, the first step is to make a mold of the item in question. We take the existing ring or component, and we place it in container with eight sheets of rubber surrounding it. The container is placed in a hot press where it remains for about 40 minutes, during which time the rubber melts around the ring or component, and makes a perfect mold of it. Along with the ring, a metal stem is placed in the container in order to create an opening where the wax will be injected at a later time.
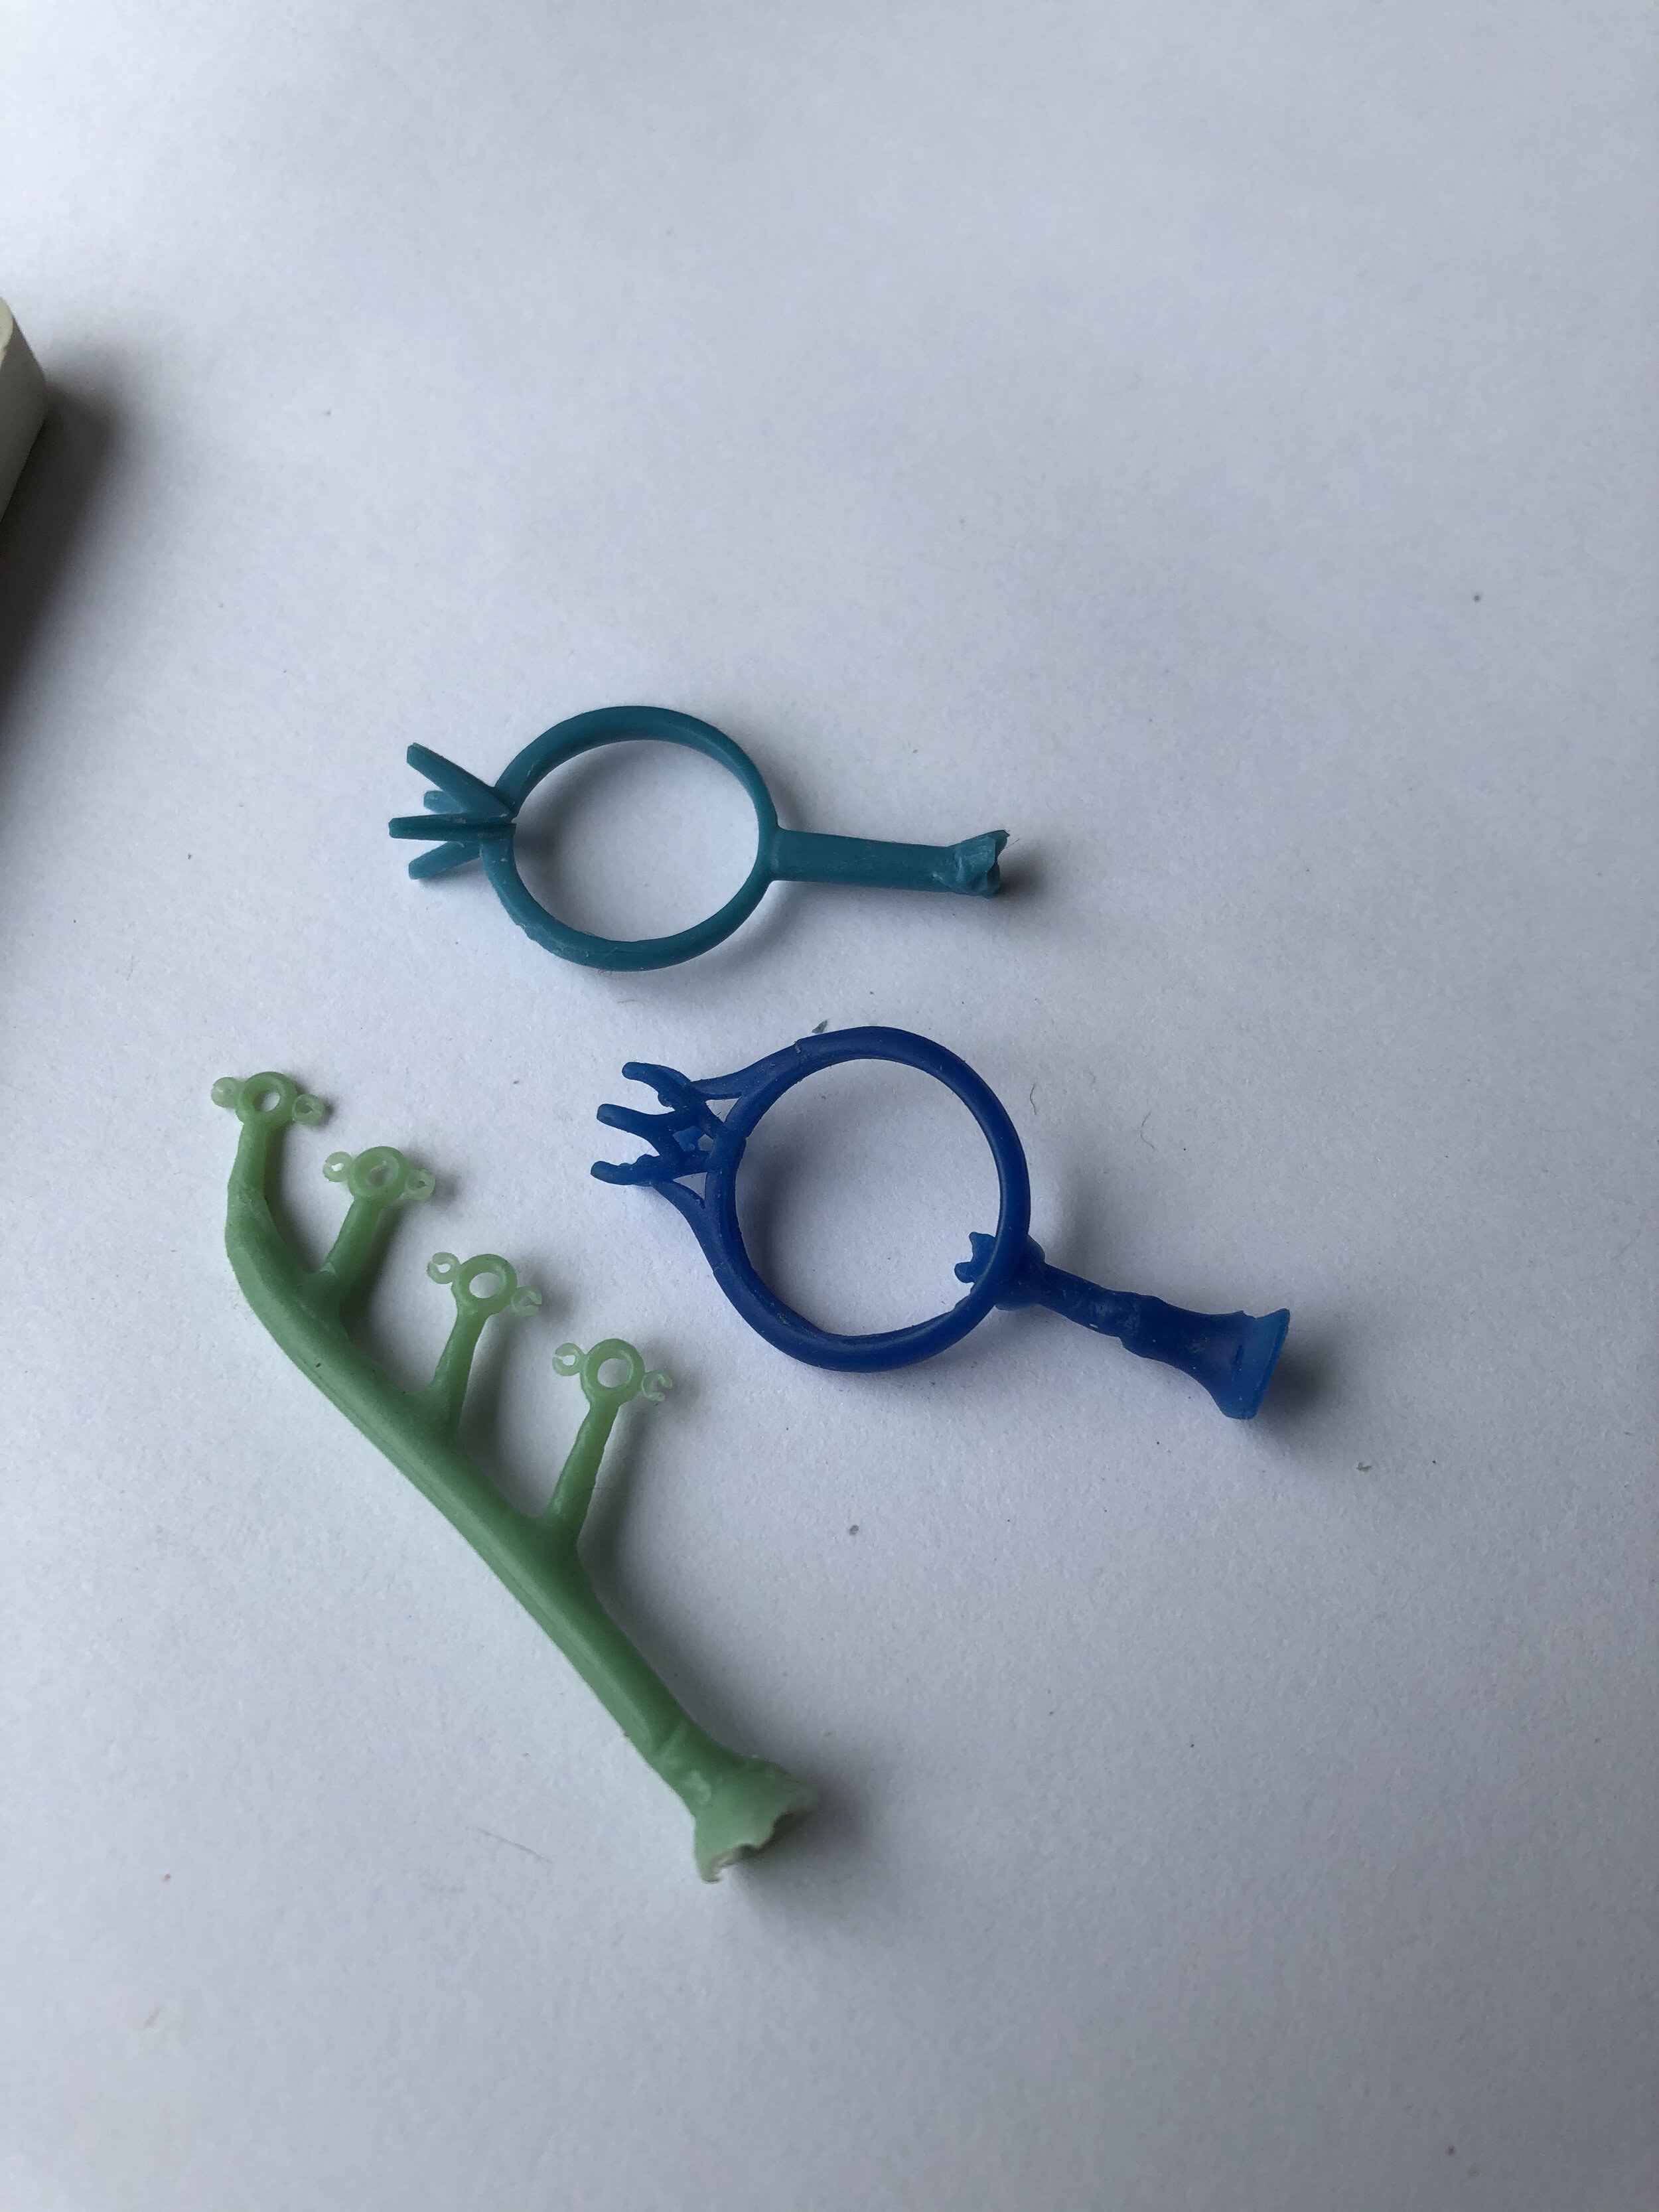
Examples of various wax molds: a set of small bezel settings for a necklace, and two different styles of engagement rings.
Once the rubber mold has been removed from the vulcanizer, cooled and hardened back to its original state, a blade is used (with a very special and precise technique) to cut the mold open in such a way that it can be closed back tightly in order to make the wax duplicate.
A rubber mold, which has been carefully cut so that it can be closed tightly anytime it is reused.
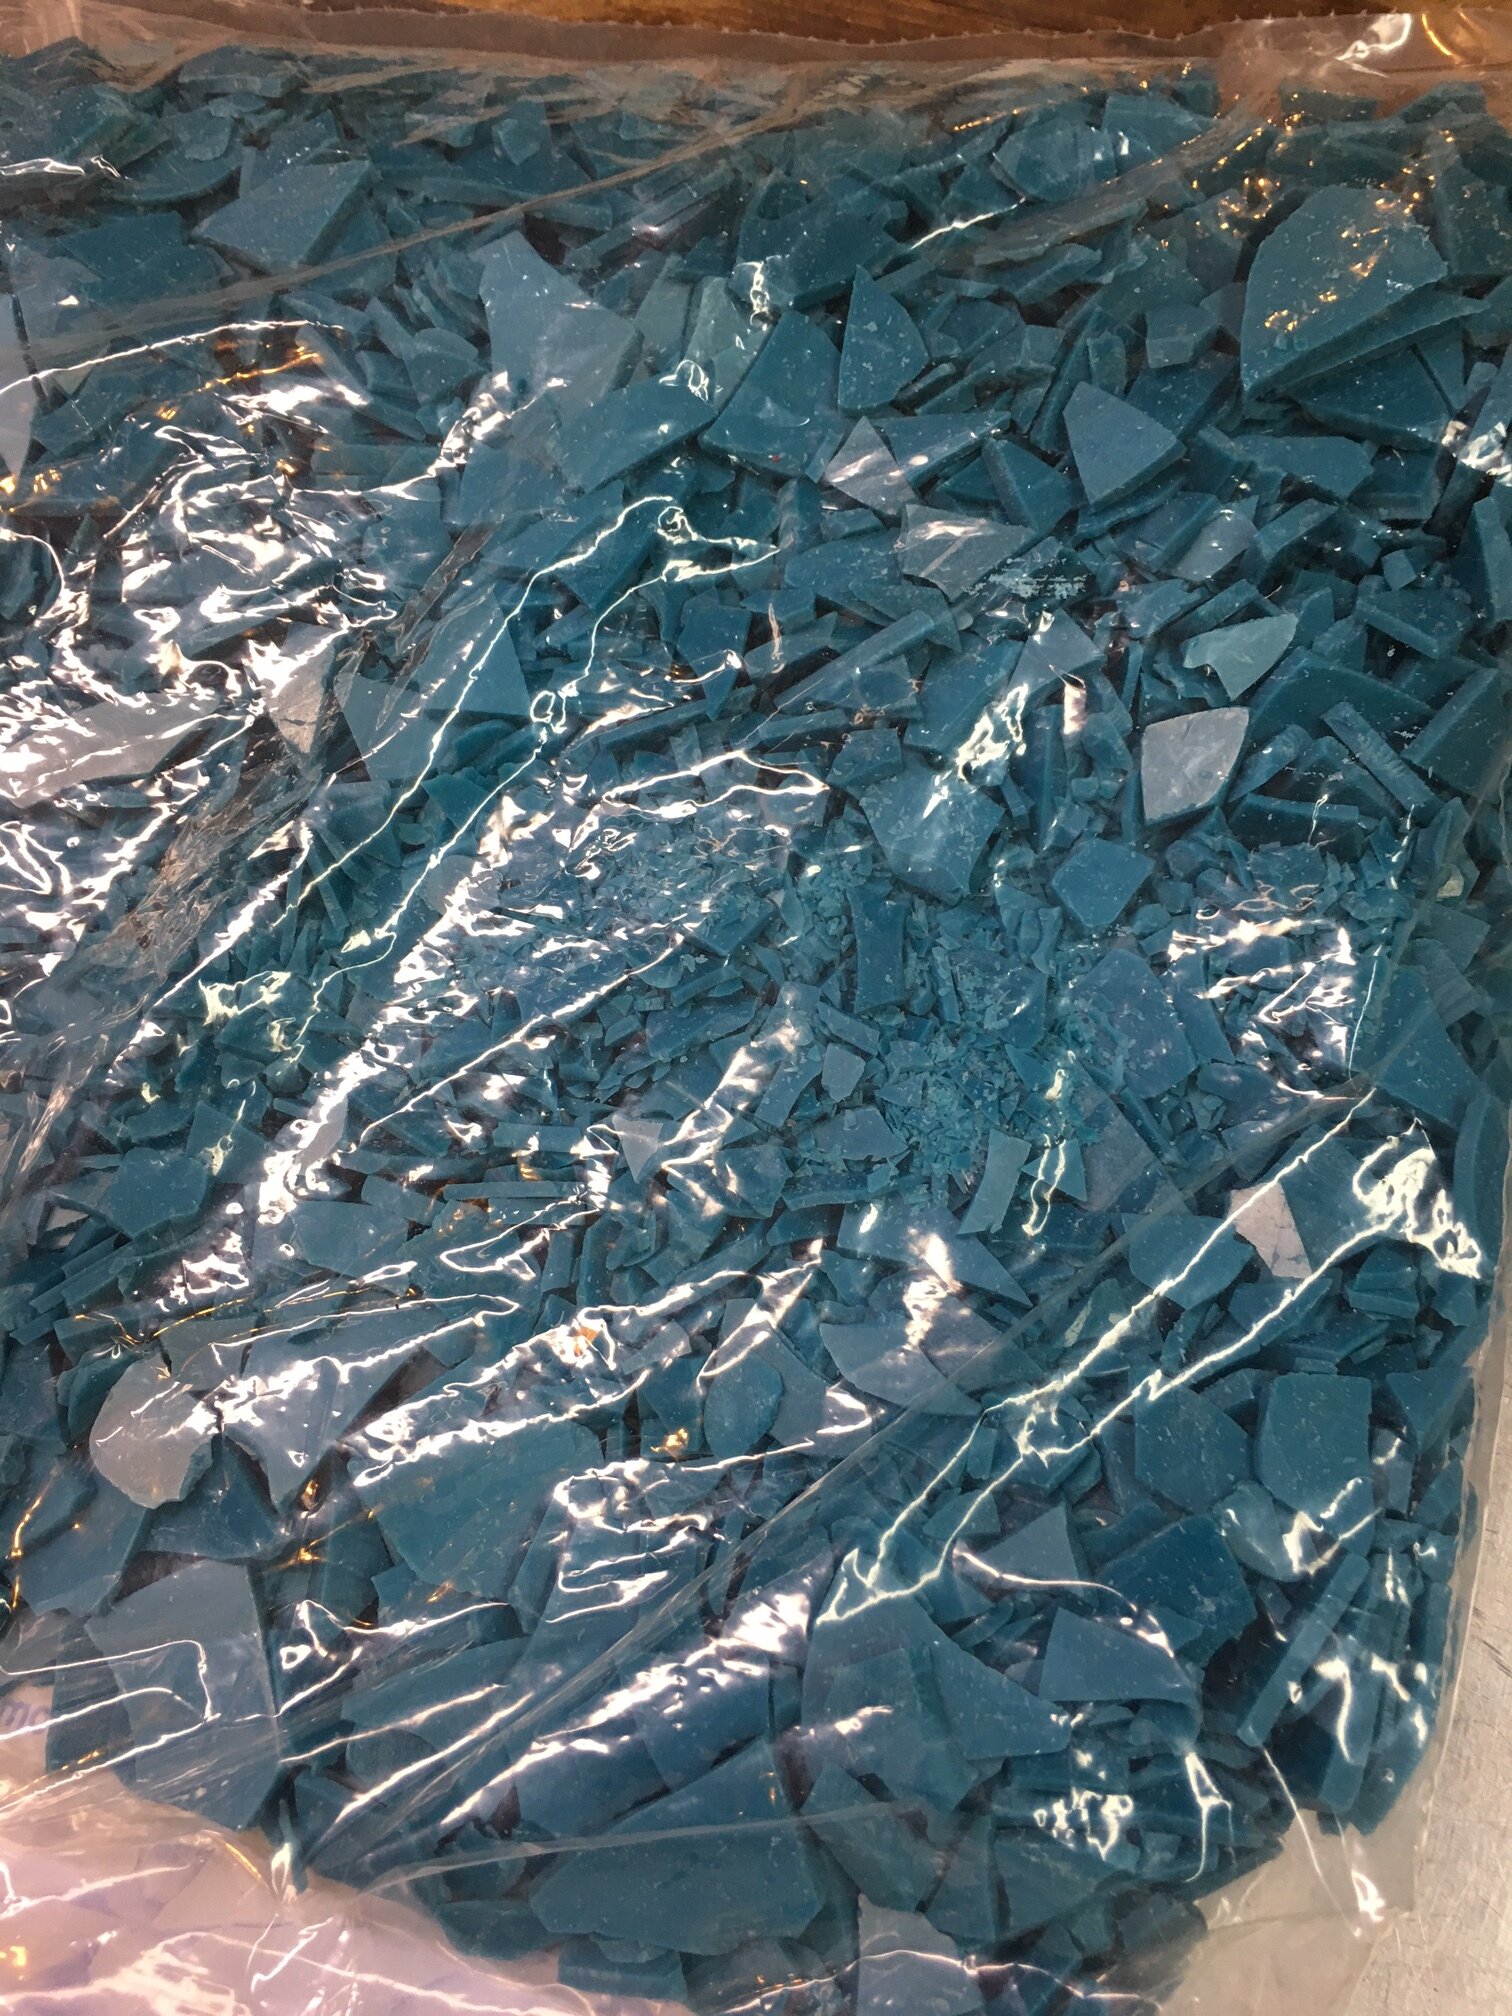
Wax flakes, as pictured below, are placed in a wax injector and melted so that they can be injected into the mold. Using air pressure, the wax is shot into the mold through the opening.
Wax flakes used for making models of jewelry.
The wax injector heats up and melts the flakes.
The melted wax is shot from the injector into the mold.
We make several wax replicas so that we can be sure to have one that comes out perfectly. Sometimes it takes several attempts in order to get the perfect wax model.
Several models are made so that the best one can be chosen for casting.
Once the waxes are done, we send them off to a casting company who does the final step of making them into a real ring-- either platinum or gold. They then send us the rings back, and we put on the final touches- polishing, sizing, setting, and then the ring is good to go!
Finished casted ring (after polishing & stone setting).


